
The correct drying of your wood totally natural and without using any drying equipment( ovens , et.c) , is basic for the woodworking activity , because not all have the money for equipment .
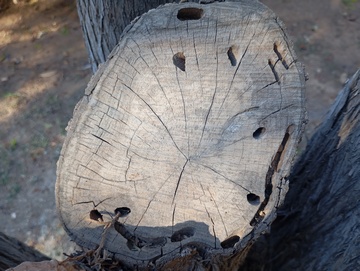
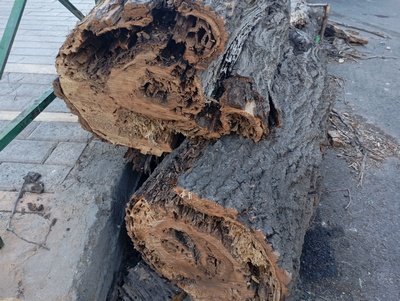
If your wood will get cracks from the incorrect drying , you’ll have a serious problem .
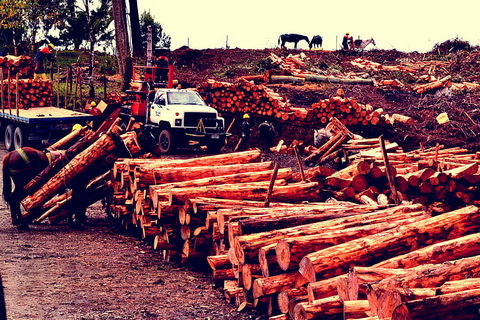
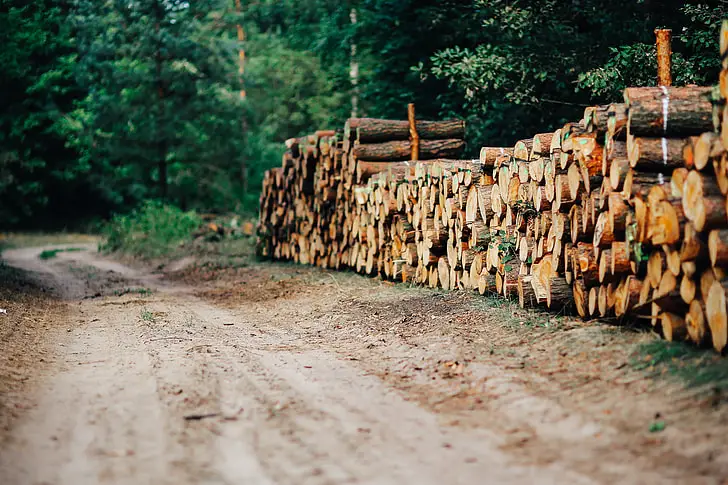
How to Naturally dry Logs ?
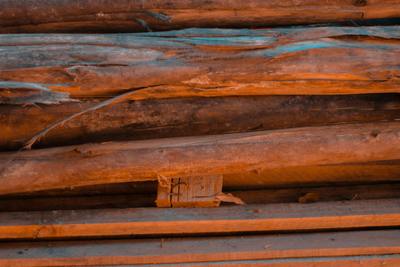
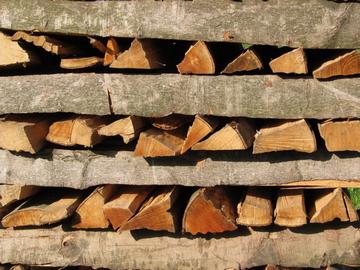
The best way to naturally dry logs of any wood type and size , is the creation of a stack at least 10″ above the ground in a place with good air circulation and totally avoid the direct contact with the sun rays and rain – moisture conditions .

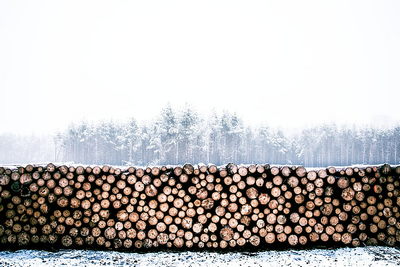
How Long does stacked firewood take to dry ?
It may take you up to 6 or more months to adjust the moisture of the wood at the 20%(or less) dryness range , but this is very fluid and depends of the type of wood , the place you’ll dry it , the general weather conditions and of course the factor of luck .

The “soft” types of wood are drying quicker than the “hard” types . The “soft” types are more “fluffy” and the moisture is “escaping” easier to the environment .
The “hard” types need more time , usually 6-12 months , for every inch of their thickness .
The speed of the drying is affected by 3 conditions :
1)The thickness of the wood .
2) The ratio of the sapwood – heartwood . The sapwood dries quicker .
3) The climate conditions and how correct is the wood stack .
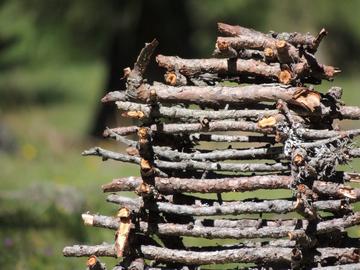
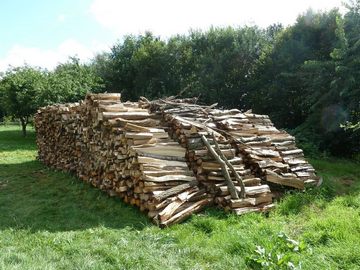
What is the German method of stacking wood ?

The German method of drying naturally your wood is the method of a stack creation like a circular house , starting making a circular base and then loading the wood as a scaled spiral which narrows as it rises to the ending top .
This protects wood from rain and it provides a nice air circulation at the same time .
Of course if needed , you should cover this spiral stack to protect it from direct rain and sun and always make adjustments .
Should i Cover my stacked firewood ?

Yes , if you judge that you should protect your stack from direct sun and extreme heat rays , the direct exposure to rain and if you want also to reduce your drying time and restrict the air flow , accordingly to your specific needs .

How to stack firewood to dry Quickly ?
If you want quicker but only natural drying times for your firewood , you should maximize the air circulation choosing a very windy place for your stack and you should leave more spaces bertween the wood , while you load them one above the other .
Does firewood dry Faster stacked ?
Yes , it certainly does and the more air circulation this stack provides with its careful creation by you , the quicker your firewood will dry
Where you should Not stack wood ?

You should not stack wood directly above the ground( no matter how dry is this ground ) , totally exposed and uncovered to the direct sun rays and rain conditions , near chemical and toxic conditions that can affect it and bugs – fungi dangerous areas .
Is it Worth stacking firewood ?
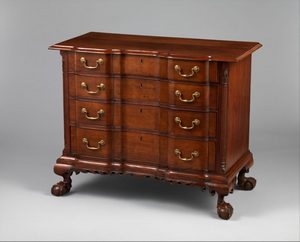
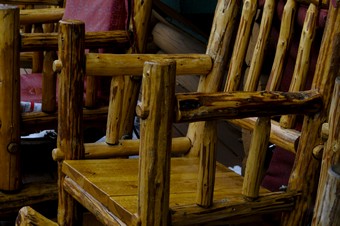
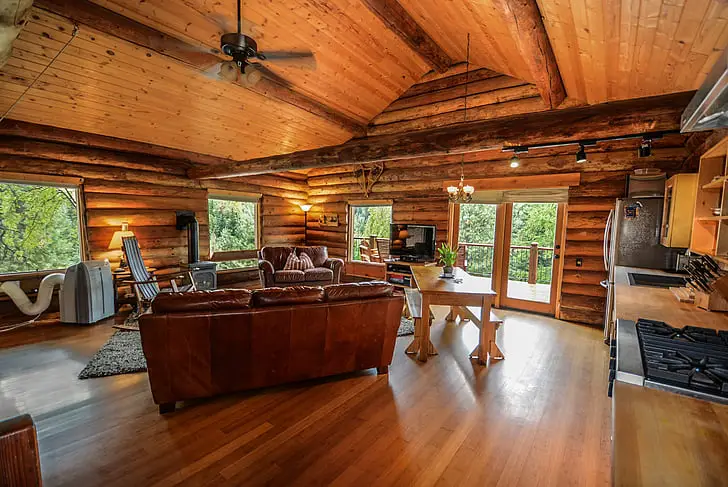
Yes , it’s definetely worth choosing the stack method to dry your wood of any type and size , because the natural drying provides a more stable wood keeping its properties and beautiness , unharmed for any woodworking project you want .
Can you stack wood on Gravel ?
Yes , you can definetely can but you should always have in mind to totally avoid the direct stacking above the gravel – ground and make your stack 10″ and more inches above the surface , in order to avoid the moisture , the bugs-fungi and let the air circulate unhindered .
Can you stack wood , Directly on the ground ?
No , you should never stack your wood directly on the ground because the moisture of the ground will damage your wood , you’ll have bugs -fungi problems sooner or later and the air won’t be able to circulate correctly .
Should you Split wood before stacking ?

No you should not split your wooden pieces before the stacking , because splitting will create more areas for drying except the edges , which will make way more difficult to adjust and control your drying and you’ll have imbalances .

How to stack wood , to dry fast and correctly ? ( step by step )

After we cut our wood trunks , we should begin to dry our wood , the sooner . When we say drying of the wood , we mean to put out ( transfer ) naturally , the moisture the wood has inside its mass , to the environment .
After and only after this , the wood takes its final shape .
Of course we should know how much moisture our wood has and a stock wood moisture meter is a very helpful tool . Acceptable and correct moisture levels , are about in the 7% percentage , for the indoor wood and 12% – 15% , for the outdoor wood .
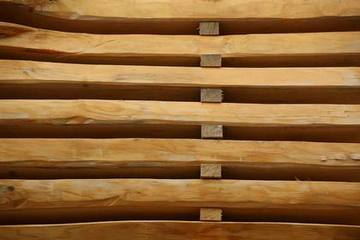
We dry our wooden boards/pieces by stacking them using wooden cubits , in order to place them , the one above the other .
The way you’ll stack our wood has colossal significance , in order to take our wood , with no problems . The stacks , must be in a100% horizontal place , with no flowers , high grass , trees , et.c , which can block the air circulation .
If you can find a place which the ground/soil , absorves rain very well , even better . We don’t want , any extra moisture , close to our wood stack .
You should “compute” from the beginning , to leave big passageways between the stacks , in order the air has no obstacles and circulate good .

So you should visualize from the beginning the space your stacks will catch , and always leave some extra “backup” passageways .
These are the steps you should follow to create your wood stack :
1) Make a Platform above the ground for your 1st board layer .
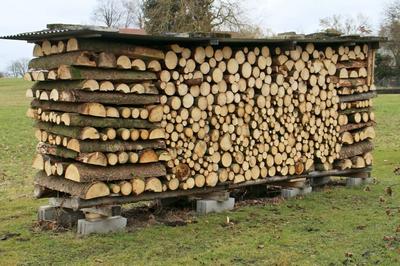
Your stack , should be above the ground around to half a meter (18-20inches) . Create a platform(100% horizontal ) , to begin stacking your first board layer . We don’t want the ground’s moisture and bugs to “interfere” in our drying .
Above this platform put your first wood/board layer .
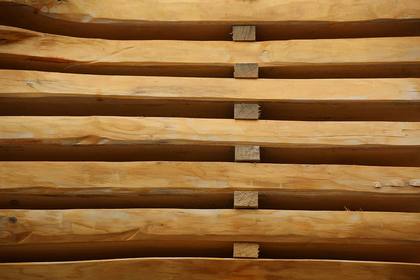
2) Make the 2nd wood board layer .
You put the second board layer above the first(1 inch higher) and this is the time you should put the first cubit . The next cubit should usually in a 70cm-80cm-1m distance . This is very important . You don’t want , your wood boards gain “bellies” / curves during the drying .
Use your experience and accordingly to the type of wood ( “soft” or “hard” ) and its weight , make adjustments in your cubit’s distances .
Continue placing cubits , till the end of your board’s length .
ATTENTION in this colossal tip :
The cubits to the whole stack must be exactly in the same spots vertically , in an absolute grade and no mistakes are “allowed” in here .
If not , your boards will bent driven by their weight in the drying process .
If you need to make adjustment and support some spots more , do it . Place more cubits , in order to balance the weight of the board and avoid board “bellies” .
3) Continue making Layers , not very high .
Continue making layers and when you reach the height of 1m – 1, 30m , stop this stack . Go and create a new one , till your wood boards/pieces , will finish .
I remind you again : The distances between the wood cubits , should be around of 70cm-80cm and the distances between the one layer of the other in your stack , 1 inch .
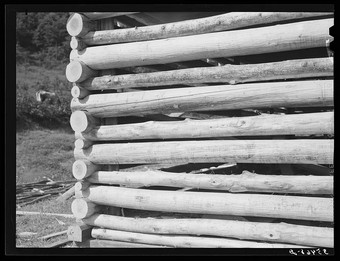
4) Cover the free ends of the boards , with Parafin or Linseed oil .
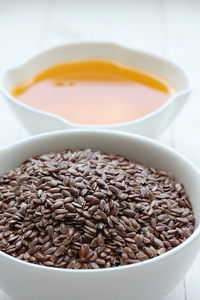
Don’t forget to cover the edges/ends of your wood with paraffin , linseed oil or just common paint , so the moisture-“escaping” , will be the same for the whole wood piece/board .
The edge/end of the wood , has no peel and the moisture goes out more easily and faster , than the other wood part .
We paint the wood areas with no peel , to slower the drying process . In there , the moisture evaporates faster than the peel covered areas and you don’t want that , because the cracks are certain .
So to reduce the moisture “escape” , do that all the professional dryer places do .
If i don’t have any , i use common paint color . Doing that you balance the drying of the peel part of the wood , to the parts you’ve cutted it .
See in HERE my best wood finishing product suggestions , without using strong chemicals .
5) Put some weight above the Last layer , for balance .

As you can imagine the wood boards in the middle of our stack , have some serious weight on them , but the above/ last ones , have less weight , or zero( the last layer) .
In order to have balance to all of our wood , we should put some weight above our stack , at the top . Usually we some plywood leaves .
In here , our continuous process checks are very important , in order to make adjustments and avoid our wood to gain “bellies” , curves , awry spots , during the drying .
6) Protect your stack from Rain/direct Sun .

You should protect your stack from rain and not only . Protect your stack from the direct hot sun and rain combination – alternations .
If you can make a shed it’s a nice thing , but if not , cover your stack with a big fabric .
Be careful . From the protecting shed/fabric , the air must circulate with great easiness . Don’t “block” the air flow , no matter what .
The Choice of the wooden Cubits you’ll use to make your wood boards stacks , has “secrets” , in order to avoid serious problems .
This is the most crucial part of your actions and you must be very carefull . This is the part in which you’ll make wood stacks , putting the one wood board above the other and you must be “surgical” care .
Why ?

Because if you make a tiny mistake in here , your wood board will bent during the drying . But it would be too late to do anything to fix it .
Accordingly , to the thickness of your wooden cubits , you can accelerate , or reduce the drying process . “Fat” cubits(and more space between the wood ) let more air between the boards and accelerate the drying process .
More “thin” cubits don’t let so much air and the drying process needs more time , is slower .
It’s more preferable your cubits to come from conifer trees , but you won’t have a problem to any other tree kind .
The wooden cubits should be :
1)Completely Dry .
The wooden cubits you’ll use to put the wood pieces the one above the other must be completely dry . Its dimensions should be around to 3×3cm( and with the same thickness across their length) , but it’s ok if you change a little these dimensions .
2) Completely Straight .
The cubit must be completely straight .
3) Completely with no Knots .
The cubits mustn’t have knots . If your cubit has knots , your wood boards will bent during the drying process .
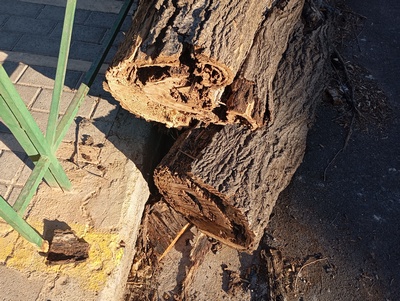
4) Completely no wood bugs / fungi .
If your wood cubits you’ll use to support your wood boards , have bugs or fungi , they’ll tranfer it to your healthy wood and you’ll be destroyed .
That’s why we don’t dry our wood , having them in direct contact . We avoid to dry wood in direct contact at all . If one wood piece has bugs , it will destroy all the others .
5) The Cubits should have the same thickness in all of their length .
If the cubits you’ll choose , have fluctuations in their thickness , in some spots they’ll support the wooden board , but in others they won’t .
This will cause bending problems , because the board’s weight won’t have a support in some spots .
What can you do , if your wood you want to dry , doesn’t have the Same length in all of its parts ?
For sure don’t leave wood pieces , “hanging” free in the air and support them . Try to balance the weight( putting more/less cubits) and visualize where the weight will need enhancement , during the drying time period .
Of course you’ll always visit and check your wood stack , for inspection .
Continuous drying “checks” are necessary .
If you see that the moisture “escape” needs more control in some areas , paint them again and maybe change the place of drying .
In the natural drying you can do many things , you try to adapt to the weather and environmental conditions , cloth covering more , painting more or change the wood’s drying spot .
If you have long logs you try to store them in the most flat place you can find , to avoid the bending during the loss of moisture .
If you want to accelerate or reduce the drying process , you do that , by changing the wood’s spot so the speed and circulation of air , should be the appropriate .
What are the factors which affect the Natural drying of the wood ?
1.The temperature , of the place we’ll put/store our wood . Higher temperature , quicker drying .
2.The moisture / dryness of the place . High moisture , slower drying .
3.The speed and circulation(airflow) of the air .
Technical wood drying , is different than Natural .
In the “technical” drying process we have a fixed plan and we follow it . In the natural drying we make our new plan every day and we adapt to the situations we found day-in , day-out .
In the natural way , we need the factor of luck more than in the “technical” dryers .
These are the 5 technical ways we use to dry our wood .
1) Drying inside in kilns .
2) Drying using steam .
3) Drying with smoking (a very old technic) .
4) Drying using the solar power , directing it to a kiln .
5) Drying electricity ( the wood goes through the electric field) .
The most common way is the use of kilns . We stack our wood with the same way we stack them in the natural way and with hot & liquid air , we dry our wood .
We adjust the temperature , the moisture and the airflow as we like , accordingly to the wood we have .
We inspect continuously the process , using wood samples we have in several spots of our timber stack .
Of course you can use microwave wood drying . Industrial wood microwave or a stantard type one .
Are there any Dangers – Problems , from technical drying ?
Yes , dangers and problems , exist . The drying process inside kilns , may cause internal stress to the wood . The outside mass is drying faster than the inside this isn’t a very good thing .

This may cause core splits or cracks , the honey combing situation and the kiln drying also affects the color of the wood . The dark colored woods ( walnuts , et.c ) can loose their color’s vividness .
Here are some Tips for faster wood drying .
1) If you can dry your wood indoors ( garage , warehouse , et.c ) , the drying process will be faster .
2) If you use a dehumidifier and a fan for airflow , you’ll speed things up .
3) If you have a lamp for heat (inside drying) use it , but at the end of the drying process . You don’t want to speed the drying at the beginning .
4) Avoid to dry , very fresh cutted wooden boards/pieces and “young” tree . The sapwood / pith will have extensions . The “mature” more old wood is suitable for drying .
5) Cut your wood boards – pieces a little bigger than your woodworking needs . Remember , during the drying process the wood’s size is changing ( shrinking ) .
6) The faster you convert your tree to the lumber(boards ,et.c) you want , the better . You’ll avoid the posibilities of wood bugs and fungi .
7) Seal the ends-edges of your wood pieces – boards . We want balance to the drying speed in all of our wood’s mass . Use parafin – linseed oil – common paint .
8) Be careful for the appearance of spiral grain(they twisting) , during your drying . The drying wood is changing shapes , continuously .
What are the benefits of the correct , drying process ?( detailed )
If you dry your wood with the correct way and of course if nothing will go wrong( the luck factor is always in our “back of our minds”) , the advantages are many and serious :
1) The correct and succesful drying , reduces the wood’s “errors” .
2) Wood bugs are killed by the drying process and if you manage to have less moisture than 10% ( the best is around to 6%-7% ) you won’t have a bug/fungi problem .
3) The mechanical properties of wood are improving . The old days ( and in some cases in our days ) , when the rivers carried the big massive tree logs to the dryers and the trees were remained inside the rivers for 20 or more days , the drying was easier .
The river water entered inside the logs “washing” the tree’s fluids . After that , the drying of the water was more easier , than the tree’s fluids . Beyond that , this process of drying made the wood more stronger , mechanically .
4. Our wood gains stability and we can do many adjustments with it . We can paint it more effectively ( you don’t paint a “wet” wood ) and impregnate it with great results .
Be patient for the entire time period of the drying process and don’t forget to “visit” and supervise the process . The hot months , usually this will last 3 – to 6 months and the rest of the year you’ll need more time .
Keep woodworking and gain happiness from it .