
You are ready to make your first woodworking project and of course you need to know , what are the basic woodworking tools you should have . Power or hand tools .
Of course at your first steps , the hand tools will be more than the power ones . The power tools are more expensive than the hand tools and maybe more complecated .

After the necessary safety “laws” you should always follow to enjoy with safety our hobby , the basic tools for a total beginner , should be very simple and reachable by anyone .
Many times you won’t be “obligated” to buy some of them , because these tools are very “common” and they exist in every house . You can find them in the 90% of the warehouses and it’s very difficult , not having the ability to supply them .
But if you are so unlucky and you should by some of them , their prices are very reasonable . They are cheap . Of course you can buy expensive tools , but for your first wood steps , it isn’t necessary .
What is the best tool for Cutting wood , for beginners ?
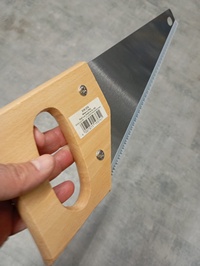
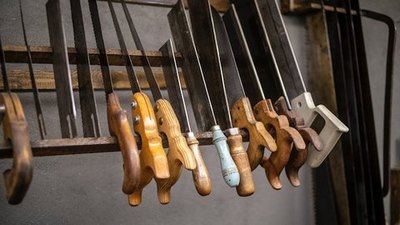
The best and appropriate tool a beginner should use fr cutting wood is the so common and basic panel handsaw for general cuttings we all use and not a backsaw or something like that , because a beginner should begin slowly , become comfort and then escalate .
Should a beginner use a Circular saw ?
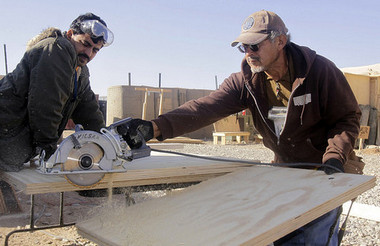
No a total beginner that isn’t have any touch and experience with the woodworking activity , shouldn’t use a circular saw for the first steps , especially if he – she doesn’t have any more experienced carpenter to show him , with safety .
First you learn to walk , and then to run .
What tools do beginner woodworkers need ?
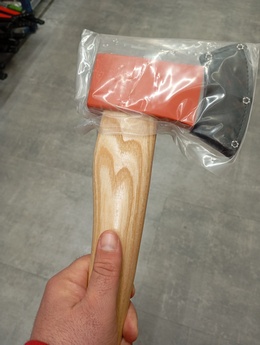
The basic woodworking tools and equipment you should have is some : axes , some hand saws , a meter ( tape type – folding ) , a carpenter’s pencil , a level tool , a square , some hammers , a mallet , a couple of files , a calliper , a screw gun and several bits , some clamps , a plier , some pins and screws , some sandpapers and wood glue and a finishing oil .

Why you’ll need the above Basic woodworking tools and some process “secrets” .
Because when you’ll find the appropriate tree you want to cut it ( and always having the necessary approval of the forestry agency) , you’ll need “something to do the “job” .
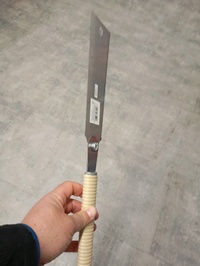
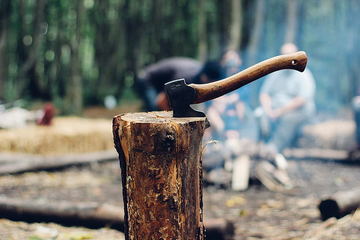
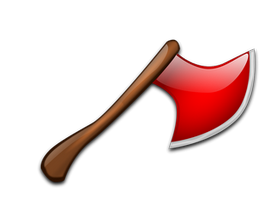
You need an axe and a big handsaw to cut the tree’s trunk . As “fatter” is the tree’s trunk , the more sweat you’ll lose with geometric rythms . After the trunk’s cutting and when the trunk is on the ground , you’ll need a smaller ax or a hatchet to cut the tree’s branches .
If it’s a reasonable sized trunk which you can curry to your warehouse , all alone ( as Arnold Schwarzenegger in Comando ) , the branches must go .
The ax will help you cut them very fast , because your shoulders and arms will be exhausted from the previous tree’s cutting .
After the “carrying to your home and warehouse “phase” , you’ll be able to start shaping your wood to the project you want to make . Yes , starting from the next day because after carrying the tree home , you won’t be able to do much .
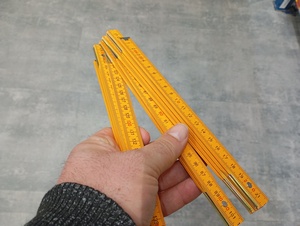
So after all this process , you’ll be ready to create a wooden chair , table , small or bigger desk , a seat , something . In order to make your masterpiece you’ll need a meter to measure the distances and then make the correct cuttings .
You don’t want to make a chair , a table or your beloved desk having all of their 4 legs , different lengths . It’ll be kind of difficult(!) to leave on them a cup of coffee or a plate with soup . Anyway a meter , is a “must have” tool.
If you can have 2 types of meters , is good . The wooden-folding “old days” meter and another one , the tape type of meter .
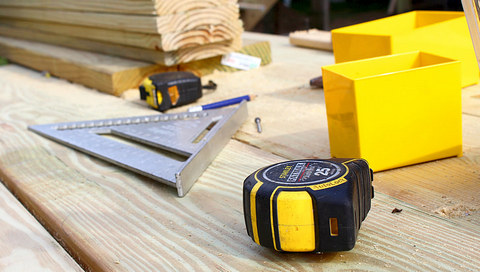
You may need both types , because sometimes you need to measure a distance having a stable meter and other times you need to measure bigger and more curved distances .
And with what , are you going to mark on the wood , to cut it with extreme caution ? A wooden pencil of course . This is another must and as much cautious you are here , the more perfect the final result will be .
You don’t want to rub with sandpaper for days , in order to make your project straight and correct in the eye . So mark your wood with cautious .
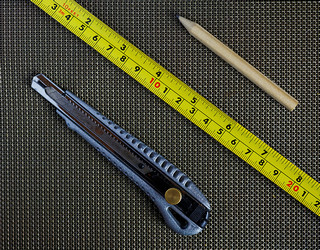
Yes with together with your pencil you’ll need a pencil sharpener to always have the “nose” of your pencil , very sharp and mark the wood with great accuracy .
Some of my top wood pencils and lead holder suggestions to mark wood precise , in HERE .
After the cutting of all the surfaces and boards in the correct sizes , you’ll need somehow to connect them , together .
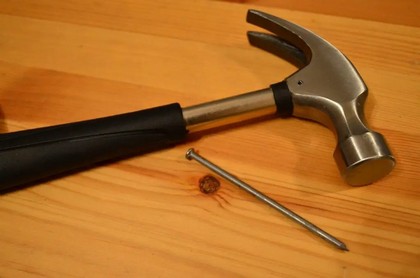
What would they be , these connection items ? The primary and simplest connection tools are the pins and screws . Maybe with some wood glue , for more stabilization .

Sometimes you may need to use the help of a file , a rasp to “eat” a litlle wood “flesh” and be more accurate . The files are always necessary woodworking helpers .
We always use appropriate wood screws and nothing else for our wood projects and together with them , we’ll need the appropriate screwing tools , a screwdriver , a screw gun and several bits .
Depending of what is the type of your screw “head” , you’ll need the appropriate bit , to screw it .


Many times , especially in the “hard” type of wood , you’ll need to make pre-drilling holes or general holes and the power drill and many bits are necessary .
Having many pins and screws is a very important thing . Because you’ll destroy and bent many of them , during the proccess .
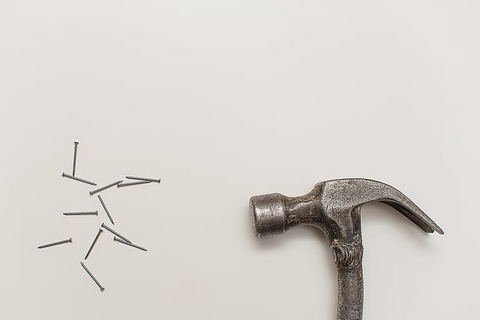
Of course a hammer , will be very useful .
Some pliers with different sized “noses” will always are good helpers , to catch and drag a pin or anything .
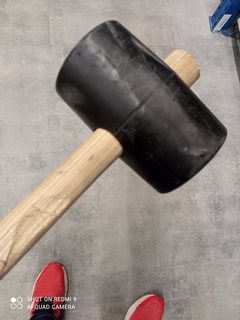
The wooden mallet is for hitting our wood to make some adjustment , without “hurting” the wooden surface and leaving an ugly mark on it . If you don’t have a mallet , no worries .
Take a simple wood piece and use it as a mallet . We never hit our wood with iron hammers . The iron/steel hammer will make a mark for sure and it’ll be very ugly .
The bigger the pin , the heavier the hammer must be . Nailing a big and “fat” pin to a wooden hard surface with a light hammer , is tough . Yes this may sounds to you “silly” , but it’s a fact .
Trying to nail a big pin to a strong surface straight , with a light weighted hammer , isn’t so easy as you may thing .
You’ll put more power to the hammer hitting hard and the posibilities to nail awry , or bent the pin are many . A heavy hammer doesn’t need so much power from you and it has a bigger hitting surface to assist you nailing straight the pin .
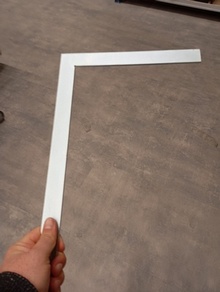
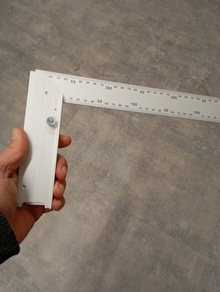
Yes , our woodworking hobby has so many “secrets” . The more you act with it , the more you learn its details . And the wood tool you need to check the verticality and the straightness of your project , is the level tool .
You should always check during the proccess , the verticality , the twistings and straightness of your work , in a general phase . You may have made a small mistake somewhere and it will need correction .
Don’t let your enthusiasm to “drive you” to finish your project and then make the checks with your level tool , your straightedges , et.c .
See my best straightedges – winding stick suggestions to check flatness and twist , in HERE .
It will be too late . It’s very important is to check the general verticality and straightness , with your own eyes .
The human eye sees all the 3 dimensions in the environment and if you have made a mistake , your eyesight will “ring you alarms” .
Last but not least , is the finishing with the orbital sander , the sandpapers and the finishing oil .
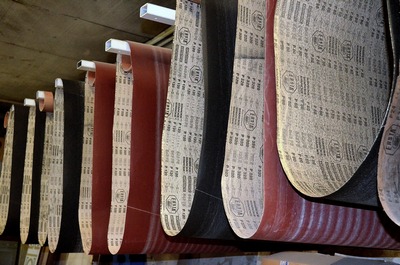
The sandpapers will make the wooden surfaces smooth for the humans touch , because the pain and annoyance of a wooden splinter inside your skin , is big .
My favorite products to prepare your wood’s sanding – finishing( abrasives-scraper cards) , in HERE .
Take all your time to smoothen the whole project and make the adjustments and give the last touch to your wooden art’s masterpiece .
This is the time you gain so much joy and inner satisfaction . You’ve made it . You gave you entire “soul” to the wood and now the wood is returning to you happiness .
Paint it with some finishing oil 1 or 2 times( you’ll need some brushes) , let it “suck” the oil inside it and dry and here you are .

See in HERE the way of finishing wood naturally with oils and waxes .
Put it in a couple of meters in front of you , admire it , enjoy watching it , touch it , smell it and smile widely . This is the happiness from woodworking .