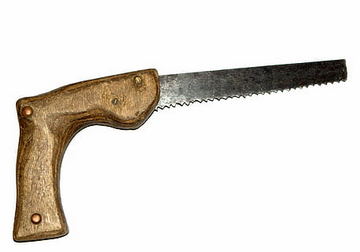
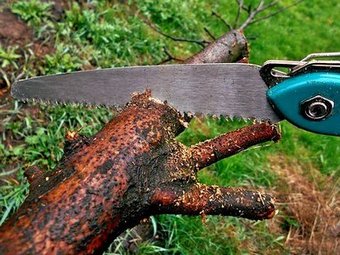
Beyond the purchase of your favorite handsaws , their nice storage without “hitting” them , the correct handsaw sharpening is a major woodworking job you’ll need to do .
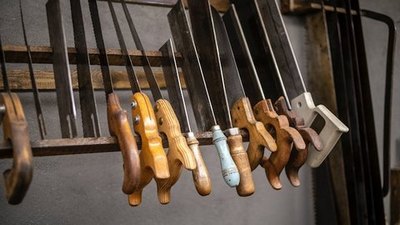
The correct inspection of your handsaws and their constanlty care for them , for sure they’ll keep them in the best “shape” to assist you for many decades .

See some of my favorite , panel – backsaws – frame saws suggestions and more , in HERE .
The sharpening of your saws is a very serious and detailed carpentry “mission” and these are the exact steps you need to do , for excellent sharpening results :
Handsaws Sharpening Guide , step by step .
1) Before all your sharpening actions , you should bend all your saw’s teeth , one left – right successively and totally equal , using a blade with openings to put inside the teeth .
In this way we make them cut sideways also , and it’s a basic process .
** Don’t confuse this bending , with the eyesight we give at the end of the sharpening to our teeth . At the end of the sharpening we’re checking the height of the teeth , not their direction !!!!!!!!
2) First of all we tighten our handsaw’s blade to our workbench vice very carefully .
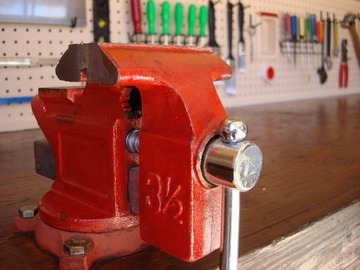
If you tight it to the metalic vice , always use two pieces of small wooden cubits , as “shields” to the metalic vice’s “jaws” . We never tight wood direct to metal .The “old times” carpenters they call these 2 cubits : cheeks .
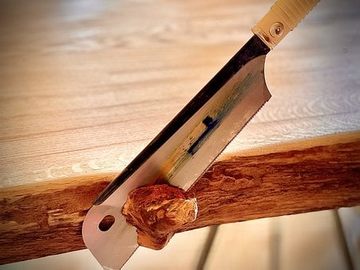
3) We take , a triangle sharpening file and we start to sharpen the saw’s teeth , beginning from the side the teeth “see” – they are oriented .

The saw’s teeth aren’t totally vertical , except the cross-cut teeth , which are kind of vertical or seemed to be with our eyesight . They “show” a direction , they “see” to a direction .
From this side we start to sharpen our saw , going to the other side . ( the pic below helps )
4) We put our triangle file , between the teeth ( it fits very good , that’s why we use the triangle file ) and we start our sharpening moves , sharpening the “back” of the one teeth and the “end” of the other , as the pic below shows .
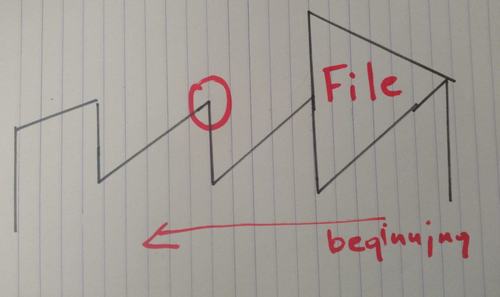
Attention no.1 in here : at the point i’ve marked in the pic above , the file will leave a VERY TINY , “nose” – point , which points(!) to the direction the whole teeth is oriented .
With this point the saw cuts !!!!! We never file this area-point and that’s why we start sharpening , putting our file as the pic above shows .
In order not to cut the previous already sharpened teeth’s , point – edgy “nose” .
And we keep sharpening till the end of the handsaw .
Attention no.2 in here : We sharpen only the saw’s area we’ve tighten to the vice . We don’t forget to change these areas , as we sharpen till the end of the saw’s blade .
5) We sharpen all teeth equal and at the end when we’ll inspect our job , all theth should have the same height . If one or more is shorter , it won’t cut .
How we Inspect the Equality of our saw’s teeth ?
We use the old but 100% secure way of our eyes and eyesight . We take our blade and “target” with our eyesight as we do to a rifle . The teeth should be all in the same height .
The shorter teeth , won’t cut wood when we try it .
6) We need to be careful to our sharpening . We should use the same amount of physical power while we file sharpen and pass the file the same number of times for each , more or less . Yes , this needs focus and peace of mind .
7) The direction of our file , while we work with it , should be totally vertical to the blade’s level and not be slanted .
8) We hold the file with both our hands , for maximum stability .
9) After a couple of filing – sharpening to our handsaw , the “nose” edges , i’ve showed you in the pic above , will need a general height straightener .
We do that , to all of these edges together with a wide file to all our blade’s length . It’s like a teeth’s “reset” , to “virgin” start – refresh all over again .
It’s a natural thing and in this way , we bring them to total straightness . Then we begin our ordinary sharpening .
This is it . WE’RE FINISHED .
Our handsaw is ready for new “adventures” .
What is the Best way to Sharpen a Saw ?
The very careful manual sharpening from us , using our files , our workbench vice and our experienced eyesight for the appropriate checkings , is the best way to sharpen your saw . It may sound “traditional” , but it’s been used for decades with 100% effectiveness .
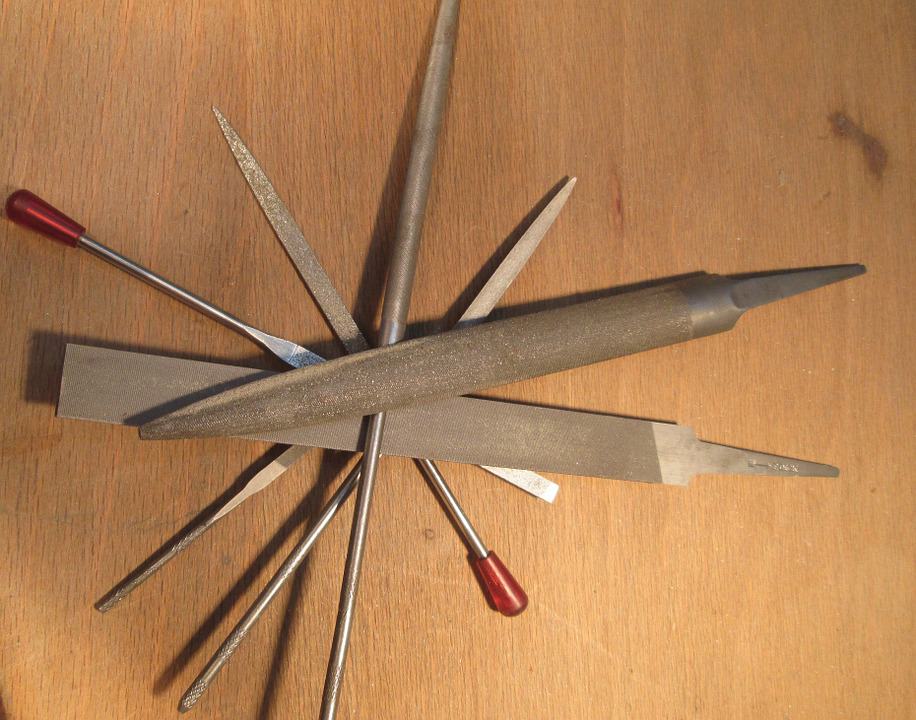
What Type of file , is used to Sharpen a Handsaw ?
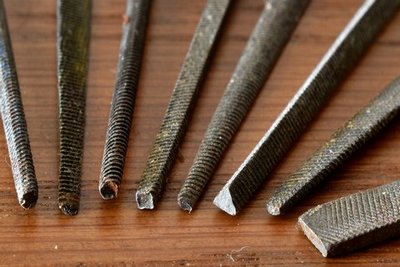
The triangular file is best for the teeth sharpening and a wide one , to put in the same height the teeth’s edges- “noses” , to all of the blade’s length .
Is it Worth it , to Sharpen saw blades on my Own ?

Yes , for sure it does . Except the personal “bond” you have with your handsaws , you and only you control the sharpening quality of your saws and of course you save money .
Don’t and never underestimate the “bond” factor in woodworking . Woodworking is emotions and love , above all the creating satisfaction .
Remember the sharpening and its benefits in THIS older post of mine .
Do handsaws get Dull , during time ?
Yes , of course as all the sharp tools in general which you use very often and in a variety of jobs . It’s like their losing their abilities and they become “artless” .
It caused mostly from the metal “fatigue” and that’s why , your personal care and maintenance add them years – decades of “good life” .
How do i Protect my handsaws ?
1) Use them for the purpose they’re ctreated for . This is a major factor . Never cut other “things” .

2) Inspect them very often . Act immediately if it’s needed , to correct problems .

3) Try not giving them to many – foreign “hands” , than yours .

4) Never neglect their sharpening .
5) Storage them “hunged” on the walls by a pin , instead of a toolbox , if you don’t have a shelf or something like that .
6) Use toolboxes , only whan it’s needed for an outside job and then put them out and storage them on your warehouse’s , et.c , walls .
7) Avoid , water and all fluids to be over your handsaws for a long period of time . Wipe them right after you’ve made your job .
8) Wipe them very immediately if there is a quick rusting – corrosive , fluid/chemical/factor , on them for some random reason .
9) Avoid “hitting” , throw them , here and there and general damage them , by hits .
10) Never neglect their wooden parts , if they have any .

See , how can you protect your wood , naturally and without strong chemicals , HERE .
11) A thin oil film on their blade , will be fine and protect them , from the atmosphere’s moisture , especially if you’re not using them very often .

Keep woodworking and the happiness is certain , always .