
When you are a total beginner to a new area/field is very common to have fears and the same maybe happens to you , concerning the woodworking area .
As every area has its onwn rules and “laws” , the same applies to woodworking area , but in no way you should be afraid of anything that will block you of entering this magnificent hobby .

So let’s begin to see the basics of woodworking holistically for the total beginner , from A to Z and the mentality he – she should have .
What is the 1st Rule of woodworking ?

Your safety comes first and before you enter the woodworking field , you should have some safety gear in order to protect your hands , your eyes , your ears, your skin , your respiratory system and your entire body in general .
Hand gloves , eye glasses , ear pads , appropriate face mask , avoidance to wear fluffy clothes and chains in your neck and hands that can enter a power machine and put your life in danger are super basic things , you must never neglect .
If you’ll act woodworking indoors , a very capable dust collector machines is super necessary , along with power tools that have dust collectors attached to them , to pick the dust they produce .
Above all the above maybe , comes your serioussness and your focus to what you do with zero distractions .
What do i need to learn woodworking ?

Pure and conscious love for wood , mood to learn about wood , mood to learn about the woodworking tools ( hand or power ones ) , mood to learn the correct use of these wood tools , mood to learn about the woodworking techniques , mood to learn about the finishing of wood , mood to make mistakes , mood to never let these mistakes stop you .

Can you Selfteach woodworking ?
Yes certainly you can , even if you’ll need to have some kind of a primary source ( humans – videos – seminars ) to watch , learn theory , try to copy it , make experiments and mistakes , identify your mistakes and evolute becoming better .
This very primary approach isn’t impossible to do , but it’ll take a very big time period for you , to start evoluting seriously and creating crafts , but it can be done .
The human beings used this theory – experiment method to evolute from the ancient years and i think that science in general is based to theory – experiment approach .

In our modern times , things are way easier and the web videos and countless sources , books , seminars , communities , online courses and teachers can help you the most to learn woodworking by your own .
How do i get into woodworking with No experience ?

No one had experience before entering an unknown cognitive field and the best thing you should with zero experience , is to learn the basic theory about the woodworking , concerning wood , tools , techniques , design , mentality and then proceed to practice to get real experience .
What is the Easiest form of woodworking ?

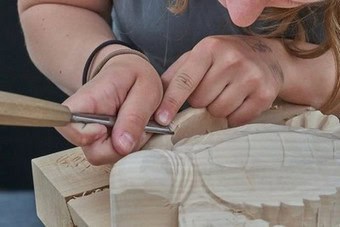
The easiest form of woodworking except the furniture area in a basic level ( not difficult carvings , et.c ) , is the creation of small wooden toys , and general small crafts that people can use to their daily lives , as cutting boards , key holders , bird houses , tool handles , walk sticks and stuff like that .

What is the Difference between Carpentry and Woodworking ?

Usually in the carpentry area , we use more heavily woodworking power machinery than the woodworkers use and the carpenters are focused in the more industrial and heavy duty tasks than the woodworkers that are specialized in the more house field .
Of course both , can do whatever they asked to do if we’re talking for experienced professionals .
Is woodworking Difficult ?
No , the woodworking isn’t a difficult activity for any human being concerning the creation of reasonable crafts and not high difficulty carvings , statues , churches and cathedrals , extreme boating crafts and decks , public bridges and projects that require , high experience and skills .
If you want more detailed approach and a general mindset about the basics of woodworking , the below guide will help .

1) Learn as much as you can , the Nature , the Properties and the Interaction the wood has , with the environment .
Wood is the primary and basic material of the woodworking activity and you should try to get knowledge for it and its “behavior” , while you are acting with it .
Wood is an “alive” material and it changes every single moment , affected by the physical environment and the actions( interacts with you ) of the carpenters above it .
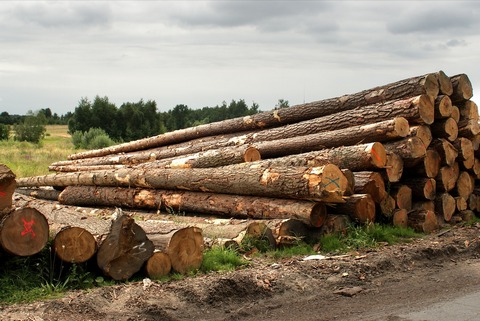
So , it’s very crucial for you , to learn as much as you can for wood , in order to proceed to the next steps of the woodworking activity .
What is wood , what characteristics it has , why it’s an alive element , how to treat it accordingly to a wide range of factors ( weather , moisture , et.c ) , how many types we have , what are the basic colors of it , what enemies it has , how to dry it , to protect it with your finishing and many more .
I have a complete post for the properties , the errors and the enemies of wood , with a couple of helpful videos you can see in here .
2) Have a personal Place to work with wood with safety – calmness – focus – accuracy .
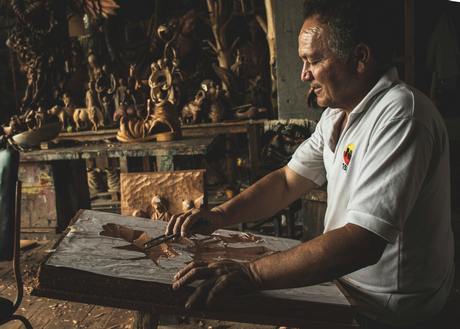
After the knowledge you’ll get for wood , a peacefull place to make your first creations would be ideal . This doesn’t need to be something “extreme” and professional .
A small area in your house ( even if you live in an apartment ) , in which you can have a small workbench and some shelves/places for your woodworking tools , can “do the job” just fine .
Tip : In order not to bent much and have back pain( lower back mostly ) , your table or woodworking bench’s height should be in the height of your belly button , more or less .
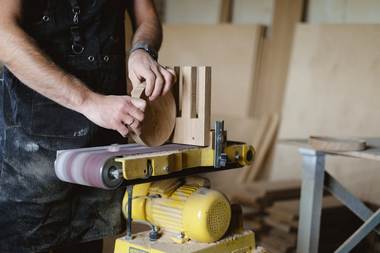
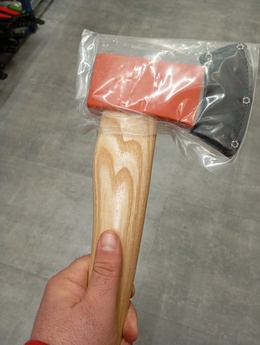
3) Begin your 1st Woodworking Tool Supplies & Learn how to use/maintenance them , with efficiency and safety .
Now it’s time to supply your first woodworking tools , in order to cut – drill – join – shape – smoothen – finish and protect your first woodworking project .
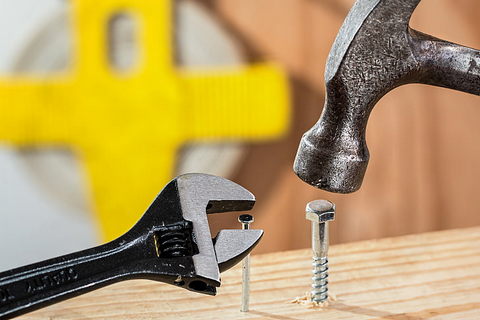
Some axes and hand saws , some carpenter’s pencils , rulers and tape meters , drills and hammers , a screwgun along with screws and nails , some chisels and files , a small vice and a workbench , are super basic to start .
If you want to remember the list of what tools you should have , as an amateur woodworker , read THIS article .
Don’t worry if in your first steps you’re making mistakes using your tools . We all made mistakes and if you’re blessed to have a more experienced carpenter to show to you some “stuff” , even better .
Practice as much as you can , make mistakes , learn from them and the most important : Keep trying .
In this way , you’ll learn the exact and correct use of every single wood tool .
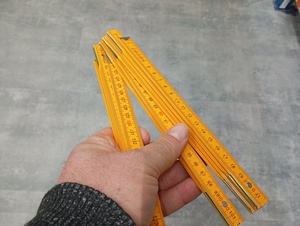
Tip for Correct measuring :
According your place to live the metric systems are changing .
Some continents/countries use Cm. ( centimeters ) , other inches , other pounds , other kilos , et.c . That’s why you’ll see the tape measures have many numbers , above them .

They are manufactured , to adapt to all earth places . The same applies for the weight of the hammers , axes , et.c . So be carefull while you’re measuring wood distances .
4) Visualize in the 3 – D dimensions space your woodworking plan , Design it on paper , and Proceed to make it Real .

This is maybe the most demanding phase for you . You’ll need to visualize the woodworking project you want to built , in the 3 – D dimensions space , in order not to be awry , then put these thought on paper and move on to create it .
This phase is the most crusial maybe , but it isn’t very difficult as it may seems to be .
Your first design attempts won’t finish first in a design contest , but as the times passes you’ll make design corrections and everything will go well .

It’s very important in here to take your time , not hurry , so your complete wood design be as perfect as possible .
Why ?
Because this wood design will be your basic column , to start and finish your wood plan with perfection .
5) Your Wood Design is ready , it’s time to supply your Wood .

Without wood you can do nothing , so it’s time to make your first wood supplies . These can be in a primary level , from you directly from the forest ( always with the appropriate forestry licences ) , or from the nearest wood shop .
Always try to choose the best wood quality for your projects . In the first case ( cut it directly from nature ) , you cannot do much for the wood quality .
You saw your wood – you cut it , you bring it to your warehouse and you’re starting to shaping it .
If it has some problems , you’ll do your best to fix this themes , but when you buy wood ( logs – boards – entire trunks , et.c ) from a store , try to choose the best possible .
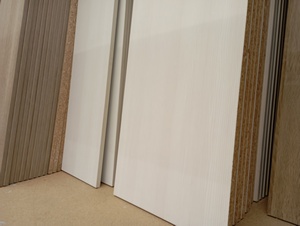
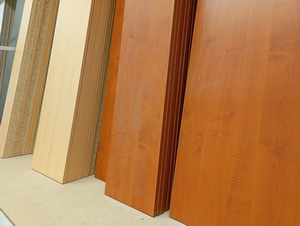
See the color of the wood , its texture , its straightness if you buy boards , signs of maybe bug problems ( even the tiny ones are sign of a “sick” tree ) , its general good health .
Ask questions to the salesman and judge your own .

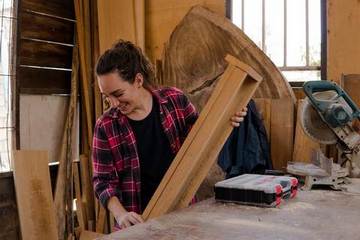
6) Now it’s time for Measuring – Cutting – Joining and completion of your Wood Plan .
If wood is the basic column of the carpentry activity , the correct measuring is for sure another one basic column .
If you measure incorrect and not according to your woodworking plan you designed earlier , you’ll cut incorrect , you’ll join wood incorrect and your wood plan won’t be good at the end .
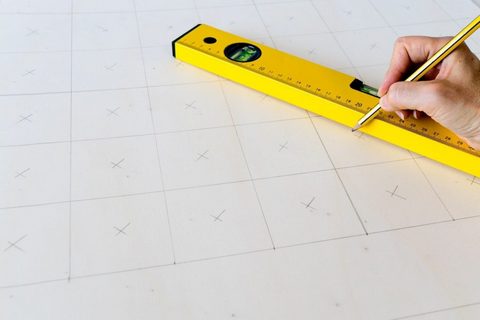
Measure your wood distances and lengths with “surgical” accuracy , use a very well sharped woodworking carpenters pencil to mark with the same focused accuracy and only then go to the cutting step .
HERE are my top pencil and lead holders products to buy and have for your precise marking .
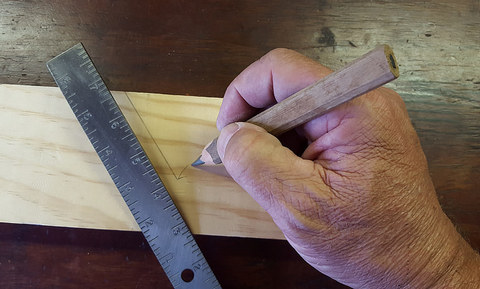
Take your time , double and triple check your measures and marking points and only then go to the cutting wood process .
Why is that ?
Because , once you cut wrong you cannot go back and fix it . When you cut wood , the cutting is permanent . So in here be 100% focused , not to make any mistake .

Yes , of course if you make a mistake and you cut longer than you should , you can fix it and cut again . But if you cut shorter and awry ?
You cannot do anything .
Don’t be afraid of the calcualtions and maths you may need . The basic maths a carpenter needs for his beginning are these .
You measured , you cut , proceed to put together your wooden surfaces and complete your plan .
At the beginning , some nails , screws and some wooden glue will be well enough for your wood joins . As you become more experienced you’ll learn more joining technics .
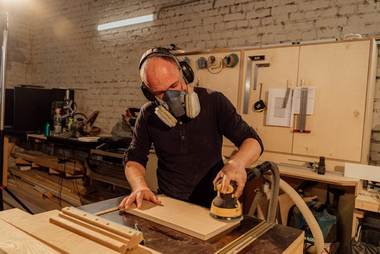
7) You’re ready . Make some Smoothening and Protect it with some finishing oil , or other preservatives .
That’s it . You’ve finished . Your first wooden chair , desk , table , et.c is ready . Don’t forget to make your sanding actions on it , to make it perfect and be sure that no wood spike , to harm you exists .
Use your planes , rasps , sandpaper or sponges( they are easier ) and make it smooth in all of its surface , even in the tiny ones , or the ones are kind of hidden from the eyesight .

I’ve chosen some top abrasives – sandpaper , et.c , products , to prepare you wood in HERE .
Last but for sure it’s not least , don’t neglect to protect your creation , with a nice quality’s finishing oil .
The “old days” woodworkers used fat from the animals . Some carpenters nowdays , like this and use it also , but in the markets you can find very good finishing oils . Choose what you like the most .
If you want wood finishing using the less possible chemicals , go and see these products i have in HERE .

Wood is an “alive” material and the weather conditions , can harm wood badly , if you let it unprotected . Wood has many enemies and moisture , fluids , chemicals , bugs , the hot sun and many other are some of them .
The finishing oil is built to protect it from these factors and you should never “forget” to paint your wood with it .
Of course you can protect your wood plan with many more preservatives than oils and waxes .
If you want the best stains-varnishes-water based varnishes , et.c my top suggestions are HERE .

TIP : Never Neglect – Postpone , the Maintenance of your tools .
When it comes to the maintenance of the woodworking tools , many woodworkers( me included ) make the mistake to neglect and postpone , the correct maintenance of them .
If you want your wood tools to last for a long time , i suggest you , not to do that .
What you should do for the proper and correct maintenance of them ?
Always follow the official manufacturer instructions and read this post , for more clarification if you want more info .

For your first wooden projects and you early days , in the woodworking “planet” , you won’t need something more sophisticated .
You don’t need , high tech metric tools or being a master on wood joining , wood identification and the whole knowledge of the world .
Simple and basic approach , some nails and glue and when you become more exprerienced you’ll do more and more and more .
Keep Woodworking and happiness will company you , in all cases .