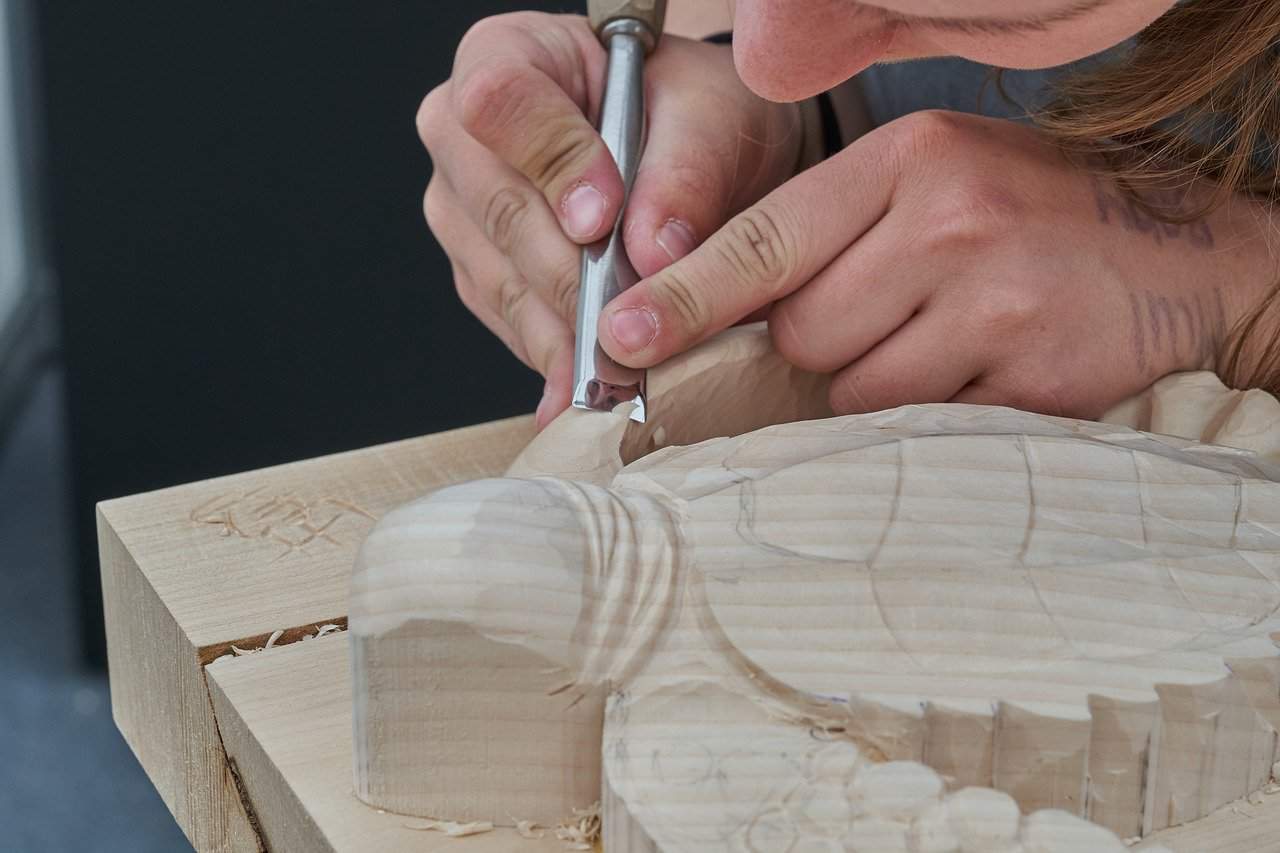
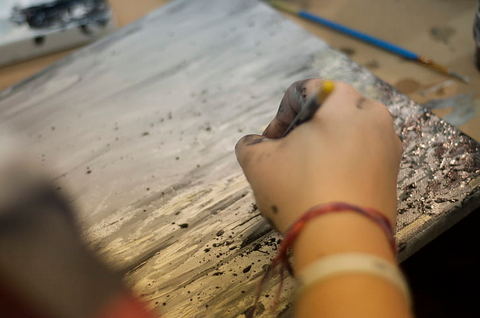
Wood carving is the display of shapes and every kind of figure , above a wooden surface . Wood carving is a smaller sector of the sculpture art in general and it comes from the prehistoric times . Greeks , Egyptians , Indians , Jews , Africans , Japanese and more , were wood carvers .
The wood carving isn’t something you start to do when you’re starting to act in the woodworking activity , because it needs a little more experience than a total amateur .
Of course it isn’t a “scary” carpentry activity and everybody can start “digging” wood and escalate to the wood carving during time .

My opinion is that if you want to start carve wood and create wood projects , to start from the most easy carving technique and then slowly but steady , escalate to the more advanced ones .
Let’s see these wood popular carvings techniques more detailed .
1) The Shallow Engrave .

This is the most easy wood carving technique . You make shallow engravings above the flat wooden surface and this engravings are very simple ones .
You carve mostly simple geometric shapes . Cubes , rhombus , semicircles , et.c . It’s a great starter technique and many times it’s used as an intermediate stage for more complex techniques .
The most common chisel for this carving technique is the triangle 600 .
2) The Exoglyph technique .

This technique is a little more difficult and you can do a larger variety of shapes . In here you carve and deepen – lowering the backgroung of your wood design , leaving the design untouched having only its edges , kind of rounded and more “sweet” .
Many times in order to make the background and the design levels more clear to the human eye , you roughen the background , making it more rough and unpolished .
You do that by carving some shallow random engravings here and there , or by creating some small dots , semicircles , et.c .


We use straight and curved chisels in here , for our straight and curved lines . We start by removing roughly the big wood’s part and then we are making our “surgical” engravings to the background .
We start with our straight chisels and then we proceed with our curved ones .
See some top chisel suggestions to buy from the stores , in HERE .
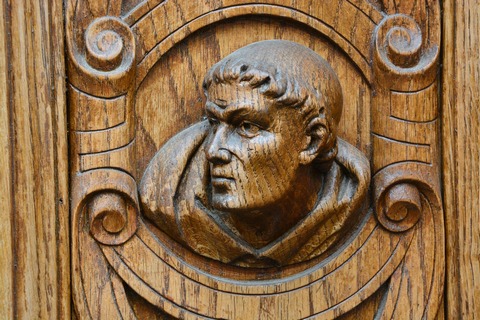
3) The Planoglyph .

In here , you carve the background lowering its level from the design , but you make shallow engravings above the design also , creating the details of the design more visible . We can say that this technique is the “summary” of the to above .
It’s a more diffcult carving technique and we proceed slowly and carefully .
4) The Hologlyph .
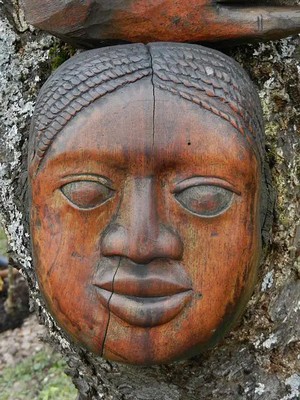
In this technique the design’s masses are sculpturing – carving evenly to all the directiοns of the wooden surface and all this of course is under a climax .
You cannot carve an entire horse , dog , whatever i suppose in a piece of wood , in its real dimensions .
It’s the most diffucult technique of all , because it combines all the carving techniques . You carve your woodworking project in the 3 – D dimensions .
We use all our carving tools in here and the best – appropriate wood choice is the : oak , mahogany and chestnut . Of course this wood should be a very good’s quality wood , with the less possible errors and have a moisture to 10% – 12% .
See in HERE what you should have in mind concerning the errors of wood .
5) The Nested wood carving technique .
In here , you engrave above your wooden flat surface , “gutters” – dents having the same thickness and lengths and inside them you stick them , above other decorative pieces , which are the backgroung .
We create shapes , figures , representations . These other pieces can be from whatever material you like .
Gold , bone , ivory , et.c and usually are the front areas of drawers , library gables , et.c .
This is a very nice technique and of course it isn’t an easy one . It needs experience .
I’ve picked some of my favorite marking – striking knive helpers to supply from the stores , in HERE .
Who makes the wood carving design and is he “Free” to make Adjustments ?
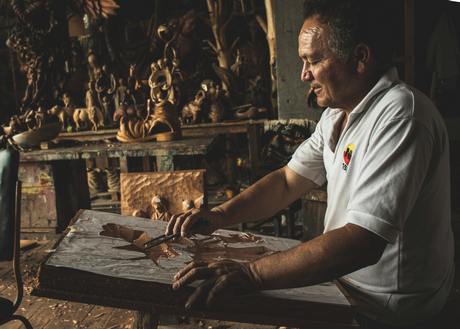
The basic wood carving design is made by the wood carver , on a piece of paper . He is the one who has the absolute responsibility and after the appropriate discussions with his clients , he takes over .
He knows the basic and general philisophy – “road map” his client wants from him and then he proceeds to create the design on paper .
Even if the design needs the assosiation of a computer , the final adjustments are made from the wood carver , on paper .

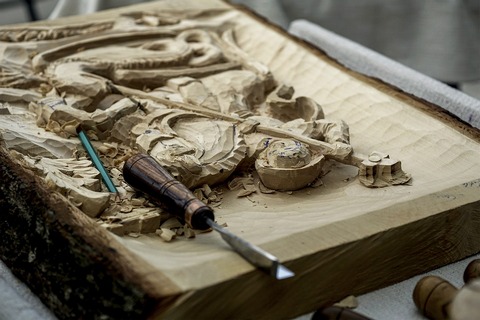
The manual wood carving , is way different than a wood carving from a CNC machine . The CNC machine reproduces exactly the design above to the wooden surface .
The manual wood carving from the carver doesn’t . The wood carver has big “freedom” to change the design , during the sculpturing . He has the general idea – philoshophy , but during the carving he can change levels , angles , dimensions , details , et.c .
The wood carver is an artist and as in all arts , the artists are expressing themselves during their creations . So as you see the carver has big “freedom” to express himself and this freedom , makes the result more desirable and unique .
Of course the customers know all that and they agree .
How do I Start the wood carving ?
Back in the “old days” , if you want to begin to learn the wood carning and become a nice wood carver the process was simple , specific and very strict concerning the steps , you should follow .
Back then before the technological evolution you didn’t have the luxury of the machines and software and you had to do “things” manually and of course learn manually . No art can be taught only from books , it needs practise .
You learned the theory from practicing and attending the old wood carvers . Back then you needed at least 10 years to become a good wood carver .
You started from the total zero and auxiliary jobs and then depending from your passion and industriousness , you evoluted .
One big benefit of all this was that , during this slow moving process , you learned the traditions , the ideology and the customs , of the wood carving themes . In my personal opinion , you maybe become a better wood carver , this way .
That’s why you see that in our days , the majority of the modern wood carving schools have tradition and the old times techniques , as their “lighthouses” .
You know , the harder you learn something , the better and more spherical you learn it . So if you want to be a good wood carver , take it slow and whatever you learn , learn it good and forever .
Of course in our days this learning period is way shorter .
If you want to see what tools the wood carving needs , see in HERE .
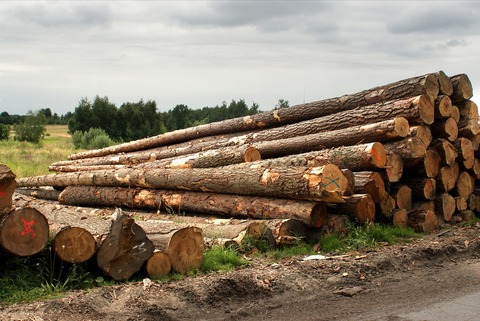
What Types of wood are used for wood carving ?
In here we need the biggest wood mass stability possible , in order our wood carvings be stable and untouched by time and weather conditions .
The cypress wood( resistance to bugs – easy to work ) , the maple( solid – easy to work ) , the linden( solid – easy to work ) , the acacia( great moisture resisntance – easy to work ) , the walnut ( one of the best carving woods ) , are some of the most popular wood types for carving .
The complete guide for the types of wood for woodworking is HERE .
The wood carving process is an amazing woodworking process and a highly artistic one . You can create amazing wood plans using your carving experience and go slowly but steady from the A to Z .
It needs time of course to rise these experience levels , but it worths every single second .
The certain is that the wood carving will fill your artistic “gaps” and needs and it’ll give you tons of inner satisfaction and happiness .
Keep woodworking and wood carving .